Specify set-up
Installing Specify
To install Specify:
Navigate to Q:\Applications\Specify
Copy the
Specify_<version>_windows.exeorSpecify_<version>_windows_64.exe– depending on your computer's configuration – file to your DesktopDouble-click the Specify_windows.exe file
Click Run in the Open File – Security Warning window:
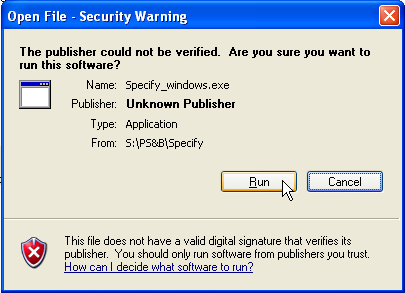
- If you receive an error message about Java, run the Java runtime environment update file in Q:\SOE, and then try installing Specify again
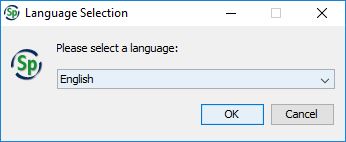
When prompted, click OK to select English as the language:
Click Next for all options in the Specify Installer window to accept the default installation settings
Click Done to close the installer.
Opening and closing Specify
Logging in
Open Specify from the shortcut button or your programs list.
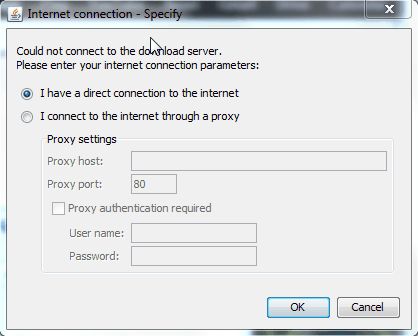
If you are presented with a window asking about internet connection settings, click Cancel. Once you have edited your preferences (see below), you will no longer be presented with this window upon start-up.
If you are presented with an Updater window, click Cancel to prevent Specify from updating your current installation. Updates to new versions must only be done by database administrators so we can ensure that the new version works properly with our customisation of Specify.

Click Exit when asked if you really want to exit (this will only exit you from the update installer, not from logging in to Specify):

Enter your user name and password in the login window
Click Login
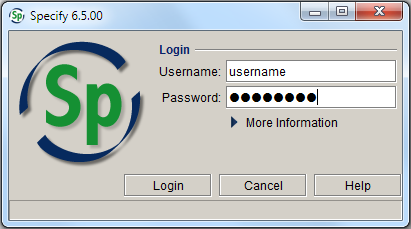
If your login fails, click on More information and check that the database settings match those below.

Configuring the master key
If you have just installed Specify on your computer, or if you are using Specify on a computer other than your own, you will need to enter your master key before you can log in. The master key for your username will have been e-mailed to you by the database administrator.
- Click on the arrow next to More Information in the Specify Login window
- Click on the Configure Master Key symbol
- Enter your master key in the Encrypted Username/Password field
- Click Continue
- Click Login in the login window.

If you are unsure of your master key, see a database administrator.
Choose a collection
There are seven different 'collections' within MELISR, which are used to catalogue different types of information and to manage data for curation tasks. All users have access to the main National Herbarium of Victoria collection. If you have access to other collections, you will be presented with a window prompting you to choose which collection you want to use.
- Incoming exchange – a holding database used to manage and check data associated with incoming exchange, prior to adding the records to the National Herbarium of Victoria collection
- MEL Census – holds the data from the old MEL Census, which contains information on MEL's holdings
- National Herbarium of Victoria – the principal collection in MELISR, used to catalogue specimens from the main component of the State Botanical Collection
- Non-MEL loans – used to manage incoming loans
- Photographs of specimens – used to catalogue photographs or cibachromes of specimens held at other herbaria
- Victorian Conservation Seed Bank – used to catalogue seed collections and associated seedlings from the Victorian Conservation Seed Bank
- Victorian Reference Set – used to catalogue specimens stored in the Victorian Reference Set
- deBRIs – a temporary collection used as a holding place for collecting data associated with the backlog of exchange material from BRI, prior to adding the records to the National Herbarium of Victoria collection.
Editing preferences
When you first log in to Specify on your computer, you should edit the system preferences to stop Specify checking for updates each time you open the database:
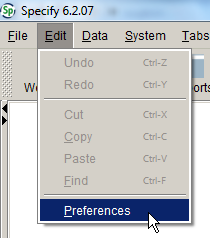
Click on the Edit file menu, then select Preferences :
Under the System options, un-tick the Check for updates at startup box:

Click OK to save the changes.
Closing Specify
To close Specify, do one of the following:
- Click on the Close symbol in the top right corner of the window
- Select Exit from the File menu
- Press Alt+F4.